Poor execution is the enemy of great logo design. A logo appears on all your marketing assets, and it should embody the pride behind your brand.
Logos with distorted shapes, stretched-out text, and pixelated colors don’t capture the good qualities of your business. If you want your finished logo to wow customers, it’s crucial to use the correct tools and files.
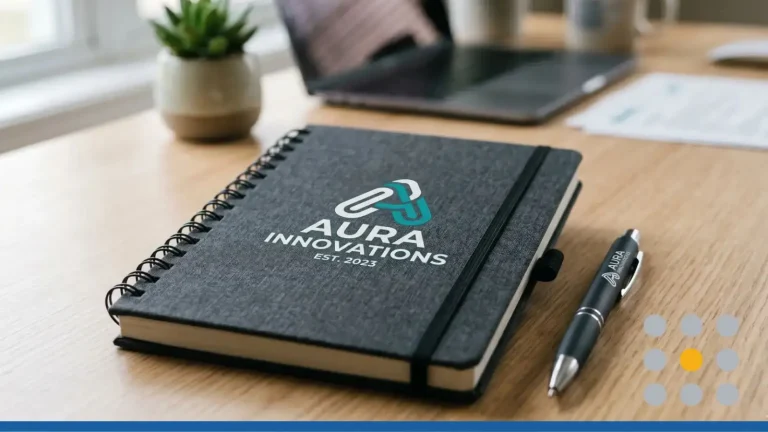
Designing your own logo for the first time? Check out this beginner’s guide for quick tips on how to create a logo online.
Working with logo design files
A logo source file has to be an editable image you can easily change or resize. The most common type are vector files, which are made up of lines and curves. Vectors can be scaled to any size because the relationships between every line and point are represented as mathematical equations.
Vectors come in several file types, including PDF, EPS, AI, and SVG.
The other major class of image files is raster or bitmap graphics. Raster images are made up of a pixel grid. The pixels are tiny enough to make images look clear from far away, but the pictures get blurry when enlarged. PNG and JPEG are popular types of raster graphics.
Many basic graphics editing programs, such as Microsoft Paint, don’t have the ability to create or open vector files. Fortunately, you can create vector files for sourcing and print applications and convert them to raster formats for web use.
Tools and software for logo design
Proprietary logo makers or vector editors are your best options for designing a strong logo. Both types of software come in free and paid versions with varying features.
Logo makers
Logo makers are websites or apps created by third-party services. They provide fonts, shapes, textures, and clip art, which are often tailored to common industries. Many even offer entire templates you can customize to fit your brand.
The best thing about a logo maker is you don’t need professional design skills to use them. Since you’re only mixing and matching elements without complicated editing, the process is quick and easy. You can simply download the source files when you’re finished.
Graphics editing software
Professional image editing programs can help you create illustrations or merge shapes to create detailed graphics. The right software depends on the complexity of your logo design. Consider starting with one of these well-known programs.
Adobe Illustrator
Illustrator is a paid pro software that supports vectors and freestyle drawing. You can join existing shapes to build a design or switch to a pen tool to draw more intricate shapes. Illustrator is the industry standard for expert design, so you should expect a steeper learning curve with this advanced software.
Adobe Photoshop
Photoshop is a paid photo and raster image editing program. In logo design, Photoshop is mainly used in conjunction with Illustrator to add special finishes to graphics. As an added benefit, you can transfer files between all Adobe programs for easy editing.
CorelDRAW
CorelDRAW is another paid freestyle drawing program that can pick up on the nuances of freehand writing. The program is useful for designing an abstract logo that isn’t made up of basic shapes.
Sketch
Sketch is a paid design toolkit that functions similarly to a logo maker while allowing vector editing. The application is made for beginner and intermediate designers, so it features plugins that simplify the design process.
Inkscape
Inkscape is a free vector software with a range of pro features, such as calligraphy tools, gradient editors, and text modification. The software is more than adequate for a novice designer to create a professional logo.
Vectr
Vectr is a free graphics editor that’s perfect for designing simple 2D images. Much like Illustrator and Inkscape, the software includes core tools for drawing paths by hand, editing vectors, and adding filter effects.
GIMP
GIMP is a free raster editing software you can use to compose and retouch images. GIMP is a more robust alternative to programs like Microsoft Paint, giving you the flexibility to blend and edit image layers.
Tips for creating your logo design
Creating graphics in an editing program is challenging and takes practices. If you’re new to graphic design, it’s wise to use premade vector shapes and lines as much as possible. As you move forward with your project, follow these tips to develop an attractive design.
1. Create complex graphics in layers
Vector images are made up of layers you can edit individually. While a simple image can be a single layer, splitting up a detailed image makes it easier to edit one section without damaging another. You can eventually merge layers to make background objects show up behind foreground objects.
You can also use blending tools to create subtle transitions between objects on different layers. For example, you can make one section of a background object transparent, so it appears to cut through a foreground letter.
2. Build upon basic shapes
Sketch your logo concept by hand, and try to picture it as simple shapes. If you look at the majority of famous logos, you will see recurring instances of circles, triangles, and squares.
Vector editing programs typically have premade shapes you can scale to any size. That way, you don’t have to worry about uneven lines or proportions. Think about how you can layer, overlap, stack, stagger, flip, or tilt shapes to get interesting designs.
3. Use tools to manipulate placement
Whenever you’re reusing the same shape, use duplication and placement tools for consistency. For example, snap features let you connect the corner points of a vector to perfectly line up edges.
Intersection features let you overlap shapes while keeping them centrally aligned. Flip tools produce a duplicate facing in the opposite direction. Explore whatever software you’re using, and take advantage of tools that allow you to be more precise.
4. Sketch and scan hand-drawn logos
Going for the hand-drawn look? Make your job easier by sketching the design in pen or pencil first. Using drawing tools in a vector program can be difficult if you’re inexperienced or don’t have a tablet.
Instead, polish up your hand-drawn sketch as much as you can. Once you’re satisfied, scan the image and upload it as a background layer in your vector project. With your original drawing as a guideline, it’s easier to trace accurate paths using the program’s pen tool.
5. Play around with type spacing
Few companies use typefaces exactly as they were designed. Subtle tweaks can help you personalize a font and make it fit the proportions in your design better.
Type spacing allows you to widen the area between paths in a text vector. Kerning lets you adjust the spacing between two specific letters to create a more visually pleasing result. You can also try cropping out sections of a letter to get a cool minimalist look.
Final thoughts about how to make a logo
Creating a great logo is a balancing act. There’s a thin line between editing too much and too little. Work in small steps, and make minor changes to refine your design. Sometimes, you need to step away and come back to truly judge whether a design element is the right fit.
Save and label different versions of your files, so you can easily go back to earlier iterations. The creative process isn’t always linear, and you might test out various combinations before choosing your best designs.
Of course, if you aren’t the creative type, you can always work with a professional logo designer who will be able to turn your dream logo into a reality. Gone are the days of having to pay thousands of dollars for a custom-designed logo. There are affordable services out there that will get you in contact with a designer and you don’t have to pay an arm and a leg for the finished product.
If you’re not ready to invest in graphic design tools, try out our free logo maker and browse thousands of editable logo designs.