You’ve designed the perfect logo and have a clear vision for your brand, but on your desk, there’s a pile of merch samples that the printer got slightly wrong because you sent them an image file without any further explanation. Sound familiar? This is where brand guidelines for small businesses can save you a ton of time, effort, and money.
A brand style guide is an indispensable tool for any small business. If you’re worried that developing a style guide will be too large a task, rest assured, you don’t need a full-time graphic designer or a 60-page brand manual to achieve brand consistency. What you need is a simple, practical set of brand guidelines that travels with your files and tells anyone, from printers to freelancers, exactly what to do with your brand assets. Building a strong brand doesn’t require a massive budget or a design degree; it requires clarity, consistency, and a document that makes your brand’s visual identity impossible to get wrong.
In this article, we’ll walk you through every step, from locking down your logo versions to printing on a ceramic mug without losing your mind.
- Why Your Small Business Needs Brand Guidelines
- Step 1: Define Your Core Logo Versions
- Step 2: Lock in Your Colors for Print & Digital
- Step 3: Choose & Document Your Brand Fonts
- Step 4: Set Logo Usage Rules That Prevent Mistakes
- Step 5: Translate Your Guidelines to Merch & Print
- Step 6: Document Everything in a 5‑Page Brand Guide
- Next Steps: Where to Use These Guidelines First

Why Your Small Business Needs Brand Guidelines
Let’s be real, when you’re a small business, brand guidelines can feel like something the big guys worry about. Coca-Cola has a brand manual. You have a logo file and a general vibe.
But here’s the thing: The moment you start putting your name on physical products, you’re in the same game as the best brands out there. Your customers are holding your mug at 7 am, wearing your shirt at the gym, and handing your business card to a potential client. Every one of those moments is a chance to deliver a consistent experience, and each is shaped by your brand elements. That’s a lot of brand touchpoints, and every single one of them is either building or eroding your brand recognition.
The Real Cost of Inconsistent Colors & Logo Usage
Inconsistent branding isn’t just an aesthetic problem; it’s a trust problem. When a customer sees your logo in coral pink on your website, dusty salmon on your shirt, and brick red on your business cards, their brain quietly registers that something’s off. And in a competitive market, “something is off” is the last impression you want to leave.
The financial cost sneaks up on you, too. Reprinting 500 hoodies because the embroidery color looked completely different from your screen? That’s real money. A consistent brand identity, backed by a simple style guide, prevents all of this. Think of it less as a creative document and more as a practical instruction manual, one that exists to ensure consistency every time your brand appears in the world, whether that’s on a screen or stitched into a hat.

Why “Just Using the Logo File” Is Not Enough Once You Start Printing
Many small business owners operate in what we lovingly call “logo file mode.” You have one PNG file saved somewhere, you email it to whoever needs it, and you hope for the best. This works fine when you’re just posting on Instagram. It stops working the moment you start printing.
Print vendors need specific file formats. They need your exact CMYK color codes, not just the hex code you used on your website. Another necessity is a version of your logo that works on a dark background, because your standard version with a white background will look terrible on a black hoodie. They also need to know the minimum size your logo can be printed before it becomes illegible.
None of this information lives in a single PNG file. Your own brand guidelines, your brand identity guidelines, are where all of it lives, and they turn a chaotic back-and-forth with vendors into a smooth, professional handoff every single time.
Now that we’ve covered the why, let’s discuss the how step-by-step.

Step 1: Define Your Core Logo Versions
Think of your logo as a family, not a single file. The best brands don’t have one logo; they have a system of logo versions that work together across different contexts. If you’re just getting started and need to find inspiration for how this works in practice, look at how established consumer brands present their design elements across packaging, apparel, and digital.
A great example to learn from is Microsoft. In the company’s official brand guidelines, it distinguishes the overarching brand logo and wordmark from individual product logos like Microsoft 365, Microsoft Word, and Microsoft Excel. The brand style guide also lays out which logo should be used in which context. This ensures the company maintains brand consistency throughout all marketing materials.
Getting your logo system sorted is the single most impactful thing you can do for your brand identity, especially once merch enters the picture.
Primary, Secondary & Icon‑Only Logos
Your primary logo is the full version, wordmark, icon, tagline, whatever the complete composition looks like. This is the version you use when you have plenty of space and want to make a full impression.
Your secondary logo is a simplified or rearranged version for tighter spaces. It’s the icon stacked above the wordmark instead of side-by-side, or it’s the wordmark without the tagline. The secondary logo should feel like the same brand family but be more flexible.
Your icon-only logo (sometimes called a brandmark or logomark) is just the symbol, no text. This is what you put on a small button, a favicon, a pen cap, or the pocket of a shirt where a full wordmark would be too small to read. Not every small business needs all three versions right away, but as soon as you start producing merch at scale, you’ll be glad you have them ready.
When to Use Each on Cards, Shirts & Promo Products
Here’s a practical breakdown:
- Use your primary logo on business cards (front and center), letterheads, signage, and anywhere you have a clean horizontal space of at least 2 inches.
- Use your secondary logo when you’re working in a square or vertical format, think Instagram profile images, hang tags, or the chest of a shirt, where a horizontal layout would look awkward.
- Use your icon-only logo for small items like pens, buttons, keychains, or the back collar label of a garment.
The goal is that every application looks intentional, not like you just crammed the wrong version into the wrong space.
What File Formats Do You Actually Need (PNG, SVG, PDF, ETC.)
This is where a lot of small business owners get lost, so let’s demystify it. You need at least four file formats for each logo version, including your primary logo, your secondary logo, and your icon-only version:
- SVG (Scalable Vector Graphic) is your master file. It scales to any size without losing quality. If you work in Adobe Illustrator or any vector program, this is your source of truth and the foundation of your visual identity. Not all printers accept SVG, but it’s the format you keep forever.
- PDF (or EPS) is what most professional printers want. It’s vector-based and preserves your exact colors. When you’re ordering signage, screen-printed shirts, or embroidered hats, send a PDF.
- PNG is for digital use, websites, social media, email signatures, and presentations. A PNG with a transparent background is the version you send to someone who needs to drop your logo onto a design. Make sure you have both a full-color version and a white version (for dark backgrounds).
- JPEG is the format you use when you absolutely have to (some older systems only accept it), but never use it for logos if you can avoid it; it compresses your image and creates ugly artifacts around crisp edges.
Keep all of these versions organized in a folder called Brand Assets. This is your go-to library of brand assets, and never send someone a compressed, resized copy that’s been exported five times. Always go back to the source.
Step 2: Lock in Your Colors for Print & Digital
Color is where small business brands most often fall apart, and it’s completely preventable. The fix is simple: Document your exact color codes for every context where your brand shows up, and never deviate from them. Your brand colors are one of the most recognizable parts of your identity. Get them locked in, and they’ll do a lot of heavy lifting for you.
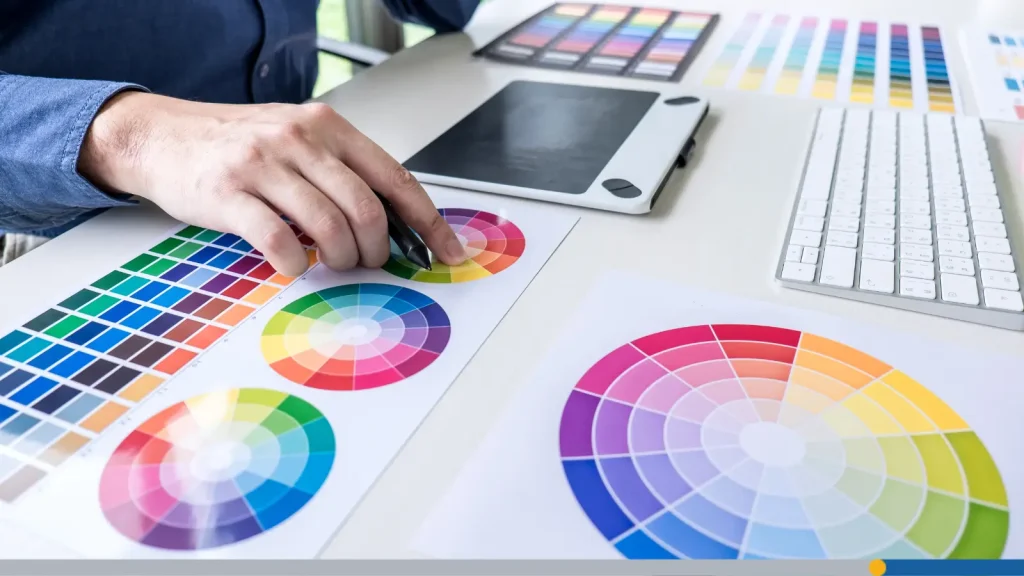
Brand Color Palette: Primary, Secondary, Accent
A solid brand color palette has three tiers.
- Primary color is the one people associate most strongly with your brand; it shows up on your logo, your packaging, and your website header.
- Secondary color complements it and is used for supporting elements like backgrounds, borders, and subheadings.
- Accent color is the pop, the color you use sparingly to draw attention to calls to action, highlights, or special elements. It should be eye-catching without overwhelming the overall color scheme.
For a merch-heavy small business, keep your color palettes tight. Three to five colors are plenty. More than that, and you’ll spend every print order arguing about which shade of teal is “the right one.”
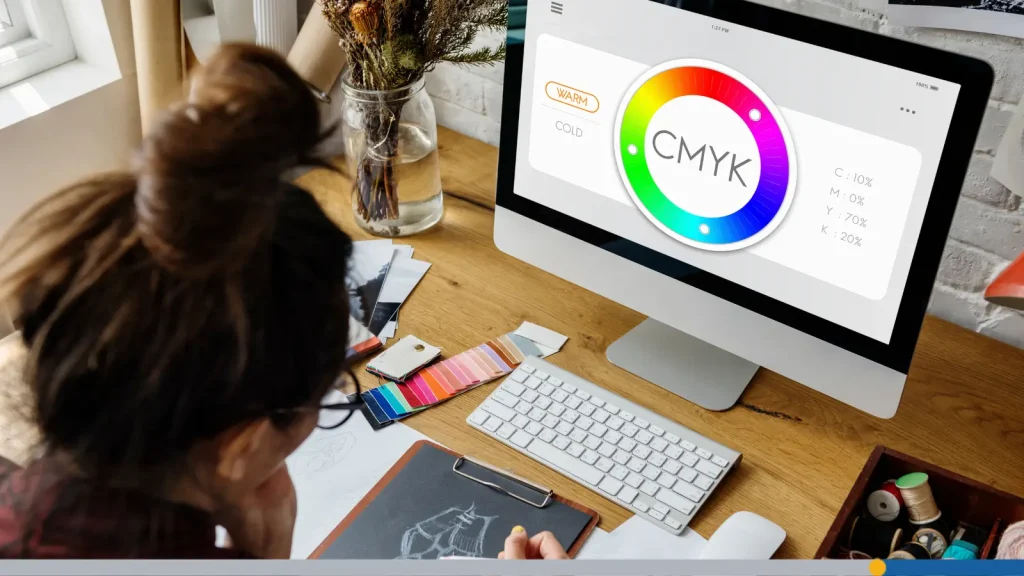
RGB vs. CMYK vs. HEX: Which Codes Go Where
This is the piece most small business owners never learn until it causes them a problem, so pay attention here.
- HEX codes (like #2E4057) are for screens only. Your website, social graphics, email templates, anywhere digital. A hex code is convenient and widely used in web design, but it doesn’t translate reliably to print. It tells a screen how to mix light, not a press how to mix ink.
- RGB values (like R: 46, G: 64, B: 87) are also for screens. RGB is how monitors produce color using light. Same rule: digital only. Both your hex code and RGB color codes should live in your guide alongside their print equivalents.
- CMYK values (like C:47, M:27, Y:0, K:66) are for print. CMYK is the color model that commercial printers use. Here’s the important part: Your HEX color and your CMYK color will look slightly different, and that’s normal.
- Pantone (PMS) codes are the gold standard for print consistency. Pantone is a standardized color system that tells any printer in the world exactly which ink to use. If you can afford to print in Pantone spot colors, do it; your brand colors will be identical whether you’re printing in Toronto or Tokyo.
For small businesses doing shorter print runs, CMYK is often the practical choice, but document the Pantone equivalent in your guidelines anyway.
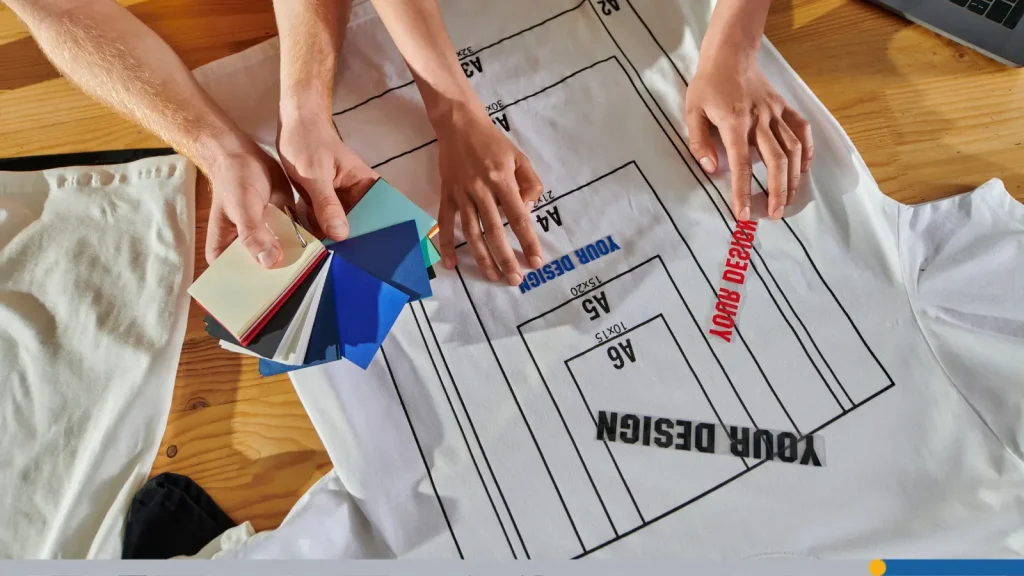
Safe Color Combinations on Fabric, Paper, & Drinkware
Every print surface behaves differently. White paper is very forgiving; almost any color will look close to what you see on screen. Fabric is trickier: the texture and weave affect how colors appear, and dark fabrics can shift light colors toward warmer tones. Drinkware (mugs, bottles) often involves a ceramic coating or a powder coat that can affect color vibrancy.
A few rules of thumb: Always test a physical sample before ordering in bulk, avoid very light colors on white or light-colored fabric (they’ll disappear), and be cautious with gradients; they rarely print cleanly on fabric or promotional products. In your brand guidelines, note which color combinations are safe for print and which to avoid.
Step 3: Choose & Document Your Brand Fonts
Typography is the unsung hero of a cohesive brand identity. Customers may not consciously notice your fonts, but they absolutely feel the inconsistency when your business cards use one typeface, your invoices use another, and your social graphics use a third. Good typography is one of the design elements that separates businesses that look put-together from businesses that look like they made it up as they went along.
Headline vs. Body Fonts & Fallback Choices
Every brand needs at least two fonts: a headline font and a body font.
- The headline font expresses your brand’s personality; it can be bold, playful, elegant, or edgy, depending on the tone you want to set.
- The body font is your workhorse; it needs to be clean, readable at small sizes, and available across platforms.
A great combination for small businesses is a distinctive headline font paired with a clean sans-serif body font like Inter, Open Sans, or Lato. These are free, widely available, and render well on both screens and printed materials.
You also need fallback fonts, the fonts your system defaults to when your primary choice isn’t available. If you’re building a website, your CSS needs a font stack. If you’re sending documents to someone who doesn’t have your brand fonts installed, they need to know to use Arial or Georgia as substitutes. Document all of this.
Where Fonts Show Up in Real Life (Cards, Invoices, Social Graphics)
Your fonts are showing up in more places than you realize. Business cards, letterheads, invoices, email newsletters, website headers, social media graphics, hang tags on merchandise, packaging labels, and in-store signage are all brand touchpoints where inconsistent typography chips away at your professionalism.
The solution isn’t to obsess over every font choice. It’s to make a decision once, write it down, and stick to it. Use your headline font for titles and major headings. Use your body font for all running text. Don’t introduce a third or fourth font just because you found a cute one on a free font site; every new font you add is a new opportunity for inconsistency.
How to Keep Typography Consistent Across Tools
This is the practical challenge: you may design in Canva, invoice in QuickBooks, write proposals in Google Docs, and have someone else manage your social graphics in Adobe Express. None of these tools automatically share fonts, and when different people use different styles across different marketing materials, your brand starts to look disjointed fast.
The fix is to create a short typography reference in your brand guide: font name, weight (bold, regular, light), size range, and use case. For tools where your exact font isn’t available, specify the closest substitute.

Step 4: Set Logo Usage Rules That Prevent Mistakes
This is the part of your brand guidelines that saves you from the disasters. Specific guidelines around logo usage aren’t bureaucratic overkill. They’re the difference between a brand that looks sharp and a brand that looks like it was designed by a committee at 11 pm.
Minimum Size & Clear Space Around the Logo
Your logo needs room to breathe. In the design world, this is called clear space, the minimum amount of empty space that should always surround your logo. It prevents your logo from getting crowded by text, images, or the edge of a page. A common rule is to use the height of the logo’s icon or a letter within the wordmark as the unit of measurement for clear space on all sides.
You also need a minimum size rule to guarantee proper use across every medium. Below a certain size, your logo becomes illegible. Test your logo at small sizes and document the minimum size you want your logo printed.
Backgrounds to Avoid (Busy Patterns, Low Contrast Colors)
Not every background is a good home for your logo. Busy photographic backgrounds, low-contrast color combinations, and clashing patterns all make your logo harder to read and less impactful.
In your brand guidelines, show visual examples of approved backgrounds (white, your brand’s primary color, black) and specifically call out backgrounds to avoid. A side-by-side layout showing a correct use and an incorrect use does more than a paragraph of text ever could. Beautiful design is about contrast and clarity, and your guide should model that.

What’s Allowed vs. Never Allowed
Here’s the never-do list that every brand guide needs.
NEVER:
- Stretch or compress the logo disproportionately.
- Recolor the logo in colors outside the approved palette.
- Add drop shadows, outlines, or glows.
- Place the logo inside a box or shape that wasn’t part of the original design.
- Use a low-resolution version.
- Rearrange the elements of the logo.
Even the largest companies in the world have a never-do list in their brand style guide. For example, Apple allegedly has a no villain clause in its brand style guide. When Apple products are featured in movies and TV shows, they can never be used by the villains. This creates a subconscious connection between Apple products and the good guys, making the products seem more virtuous.

Step 5: Translate Your Guidelines to Merch & Print
Applying a logo to a screen or a document is relatively forgiving. Applying it to fabric, drinkware, and packaging involves variables that even experienced designers sometimes get wrong. The key is knowing the specific requirements for each medium before you submit your files.
Applying Your Logo to Business Cards, Letterheads & Signage
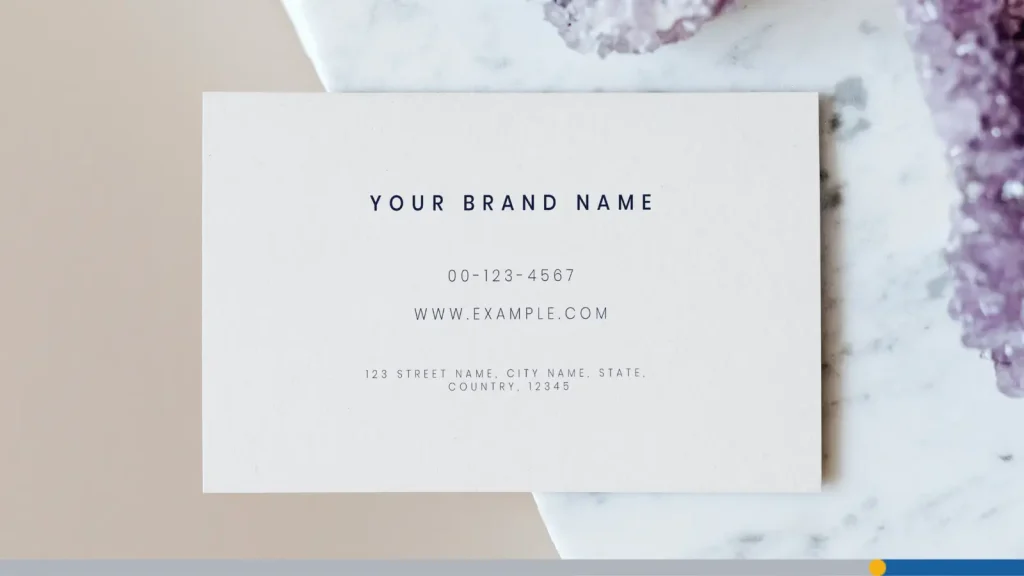
Business cards are a great starting point because they’re small and relatively standardized (often 3.5″ x 2″ in North America). Your primary or secondary logo should sit comfortably with clear space on all sides. Include your contact information in your brand font and colors.
Letterheads follow the same principles with more room to work with. Your logo goes in the header (top-left or centered consistently), your contact information in the footer, and the body uses your brand font.
For signage, scale matters most. Test your logo at the actual size it will be printed, and remember that outdoor signage is often viewed from a distance, which means you need higher contrast and bolder letterforms than you might use on a card.
Applying Your Logo to Mugs, Pens, Stickers & Packaging
Promotional products and packaging are where your brand colors and logo go to be tested in the most unforgiving conditions. A mug wraps 360 degrees. A pen gives you about half an inch of height. A sticker may be applied to any surface imaginable. Your brand guidelines should anticipate these challenges.
- Mugs and bottles: Use your icon-only or secondary logo, specify that your brand colors should be used for the imprint, and always request a digital proof before production.
- Pens and small items: Stick to your icon-only logo, and accept that this is a brand awareness play, not a detailed brand moment; keep it simple.
- Stickers: This is actually where you can have fun. Stickers are a merch category where bold color, clean lines, and distinctive design really shine. Make sure you’re providing vector files and specifying bleed areas for die-cut stickers.
- Packaging: Apply your full brand system, logo, colors, and fonts, and treat the package as a brand experience, not just a container.

Step 6: Document Everything in a 5‑Page Brand Guide
For a small business, a focused, well-organized 5-page brand guide covers everything you need and is actually something people will use. Here’s how to structure it.
The One-Page Overview: Logo, Colors, Fonts at a Glance
Your first page should act as a quick reference:
- Logo variations
- Color palette (with HEX, RGB, CMYK)
- Fonts
This makes your brand guide easy to use, even for non-designers. Putting all of the key information up front is vital; if people have to search too hard for an answer to their branding question, they may decide to forego the guide altogether.
Pages to Include & What to Write on Each
A simple brand guidelines template could include:
- Overview
- Logo usage
- Colors
- Typography
- Applications (merch examples)
You can turn this breakdown into your own free brand style guide template to elevate your brand. Just remember to keep it short, clear, and practical.
How to Share Your Brand Guide With Printers & Freelancers
Your brand guide is only useful if people actually receive and read it. Create a shared folder with the brand guide PDF and all organized logo files. When you send a project to a printer or freelancer, include the link to this folder in your first message. Make it a standard part of your workflow.
For external partners who work with you regularly, send the full brand guide on first engagement and follow up with any updates when your brand evolves. Your employees and anyone inside your organization who creates branded content should also have easy access; don’t make people hunt for it.

Next Steps: Where to Use These Guidelines First
Once your brand guide exists, put it to work immediately. The first place to apply it is wherever your brand is most visible and most at risk of inconsistency. For most merch-heavy small businesses, that means your top-selling garment, your business card, and your website header. Get these three things locked in and consistent with your new guidelines, and you’ll feel the difference immediately, not just visually, but in how confidently you can hand off your brand to vendors, partners, and collaborators.
Grand guidelines aren’t a one-time project. They’re a living document that supports brand evolution over time. Brand consistency doesn’t stop once you’ve written things down; it’s an ongoing practice of checking in, updating, and keeping everyone aligned.
Conclusion
Here’s the bottom line: A simple brand style guide is one of the highest-return investments you can make in your small business. It doesn’t matter how great your products are or how talented your team is, if your brand looks different every time it shows up in the world, customers won’t remember you. But when your logo, your brand colors, your typography, and your tone of voice all show up consistently, something clicks. People start to recognize you. They trust you. They buy from you again. That’s the real power of a cohesive identity, and it’s completely within reach for any small business willing to spend a focused day getting it done.
The first thing you present to a new customer, whether it’s a business card, a product they ordered online, or a hoodie they saw someone wearing, is a sign of who you are. Make sure it says exactly what you want it to say.
Need a great logo to go with your new brand style guide? We’ve got you covered. Use FreeLogoServices’s intuitive logo design platform to craft the perfect symbol to represent your brand. Once you perfect your logo, you can use it immediately on shirts, mugs, and other promotional products. Get started today!
FREQUENTLY ASKED QUESTIONS
Do I really need brand guidelines if I’m just a small business?
Yes, especially if you’re producing merch or working with printers and vendors. Brand guidelines don’t have to be long or complicated, but they’re the single best tool for ensuring your brand looks consistent across every product, platform, and partner.
How long does it take to create brand guidelines?
A solid set of simple brand guidelines for a small business can be put together in one focused day, as outlined in the checklist section above.
What’s the difference between a brand guide and a brand style guide?
These terms are often used interchangeably. A brand style guide typically focuses on the visual elements: logo, colors, typography, and imagery. A brand guide (or brand manual) sometimes goes broader, including your brand’s voice, tone of voice, mission, and values.
What file format should I send to a printer?
For most professional printing, send a PDF or EPS file. These are vector-based formats that preserve your logo’s sharpness at any size and maintain your exact color values. Always ask your specific printer what they prefer, as requirements can vary. Never send a JPEG or a low-resolution PNG for print production.
How often should I update my brand guidelines?
Revisit your brand guidelines any time you make a significant change to your visual identity, a logo refresh, a new color, a new font, or a new product category. For most small businesses, a light review once a year is a good habit.