Are you wondering how to turn a hand-drawn sketch into a digital logo but don’t know where to start? With all the options for creating graphics with a computer, many people are still more comfortable drawing their logo ideas physically.
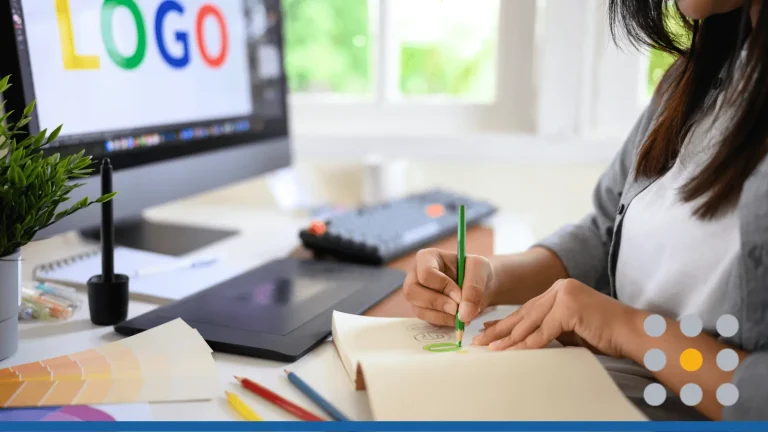
To find relevant logo designs, users should enter their business name, ensuring the logo is recognizable and representative of their brand. This is FreeLogoServices’ expertise, as our online logo maker has thousands of logo designs for every business.
People who design their logos on paper appreciate having control when creating a representation of their brand. The only problem is turning that logo into an image that can be used online and for marketing purposes.
Luckily, digitizing that image isn’t impossible. While it is a multi-step process, it doesn’t require computer skills beyond what most people can manage. Instead, it’s simply about having a guide to guide you through the process.
Keep reading to learn how to turn a hand-made drawing into a logo that keeps visitors returning to your business.
Raster vs Vector Images
The simplest way to turn a drawing into a digital image would be to take a picture of it. You’d still need to crop out the surrounding area, but you’d have an otherwise serviceable digital image, right?
Not quite.
Digital pictures are known as raster images. That means that they are defined by pixels, each containing a piece of information about the overall picture. For example, in a picture of a skyline, the pixels making up the sky are blue, the pixels making up the sun are yellow, and so on.
Raster images work really well for complex images. They can accurately display complex images at defined sizes. The drawback is that changing the size of the pixels changes the clarity of the image. Turning a small raster image into a large one will result in a blurry, unusable picture.
A vector image, on the other hand, is defined by paths. These paths stay the same shape no matter what size they’re made. That means the same image can be made of any size and still present the same. While this process isn’t as effective at handling all the information that something like a camera picture contains, it’s perfect for simpler objects like logos.
If you want to learn more about vectors and how vector logos work, visit our blog.
Vector shapes allow you to resize the same logo to meet whatever your display needs are, whether it’s for a business card, corporate banner, or webpage logo.
When exporting images, choosing the right file format is crucial to ensure the best quality and compatibility for your needs.
How to Digitize a Logo
How do you convert a hand-drawn logo to a vector image?
At this point, it’s not even a raster image but a physical property. A hand-drawn logo makes a brand more personal and approachable, evoking craftsmanship and uniqueness that enhances consumer connection.
Turning that into a digital file format will help convey that emotion to more people. Recent statistics tell us that 2.71 billion people were shopping online as of 2024, and the eCommerce market is expected to grow to $8.1 trillion by 2026 from $5.2 trillion in 2021, marking a significant increase in this market.
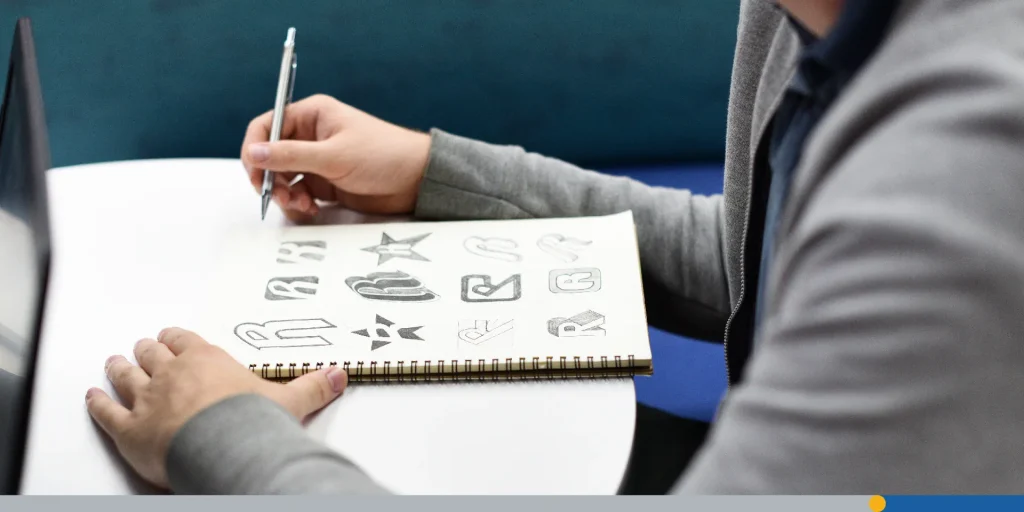
Step One: Finalize Your Hand Drawn Logo
Before digitizing your logo, make sure that it’s as finished as possible. Your focus here is contrast.
You want the logo to stand out from the rest of the page as much as possible. To create an effective logo, pay attention to various design elements such as color, shape, and layout. If you put in the effort now, this will make the conversion process much easier.
Thick black markers are great for filling spaces, and rulers help keep the edges sharp.
Step Two: Digitize Your Logo
The best way to get your logo from the page to the screen is with a scanner. Set it for the highest resolution that you can. Even if the setting is higher than you may need, it’s better to have the option to scale down if needed.
If you can reach a resolution that is too low, you’re limited in what you can do. Aim for a resolution of 600 dpi (dots per inch.) Capturing the correct logo colors during the scanning process is crucial to ensure the logo accurately represents your brand identity. This attention to detail is essential for maintaining consistency across your brand design services.
If you don’t have access to a scanner, a picture taken with a digital camera will work. However, lighting and page creases can negatively affect your logo, so it’s not recommended except as a last resort.
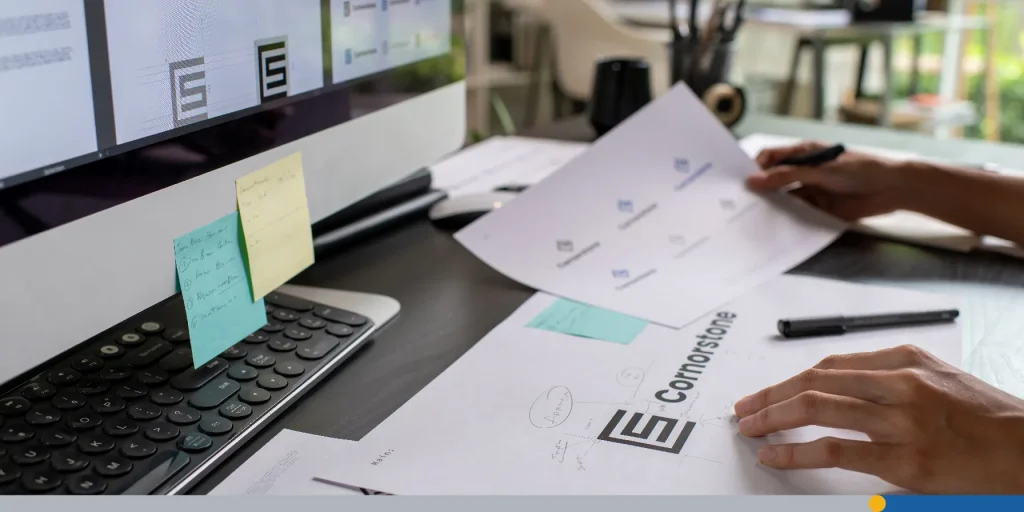
Step Three: Open Your Digitizing Software
Now that you have a digital copy of your logo, you can open it up in your editing software. Photoshop is the most common photo editor, but there are many free alternatives. The process is the same, no matter which program you use.
Before you learn how to turn your drawing into a vector, you must make a few tweaks. Start by converting the image to black and white, then increase the contrast to really make the logo pop.
Avoid straight lines to maintain the hand-drawn aesthetic, as sharp edges can detract from the design’s texture and character. Brightness and exposure can also help increase contrast. Use the brush and eraser tools to clear up stray lines or to darken spaces.
Step Four: Isolate Your Logo
Once you’re satisfied with your adjustments, it’s time to separate the logo from the background of your image. This process can vary between different software.
In Photoshop and similar software, you have an option called paths. These paths can be used to trace your image and can be tweaked in many ways. With each program offering a slightly different approach to doing this, it’s worth spending some time playing around with the different options to get the result you want.
Once you’ve traced all your paths, you’ll have an option to Make Work Path (as it’s called in Photoshop), which closes off each selection. You can then export the file into your preferred format. However, relying on logo templates might lead to a subpar hand-drawn logo design, as templates can make a look that feels artificial or unoriginal.
Authentic creation methods and the iterative process involved in crafting a truly hand-drawn logo are crucial for communicating the designer’s unique style and tools used in the process.
Adobe Illustrator offers a quicker solution. Its Image Trace command automatically detects and creates paths around your logo. Again, playing with the different settings allows you to fine-tune your conversion.
Step Five: Export Your File
Once you have created your vector paths, you can export your logo into an easy-to-use image file. This file can be changed to any size without altering the clarity of the logo, making it a practical way to brand just about anything. If you’re looking to showcase your logo in a creative way, consider turning it into stunning Wall Art Canvas Picture Prints to elevate your brand’s visual presence.
Simply open it up in your photo editor and export a version to the size you need. Use it for your social media logos, thumbnails, and any other marketing purposes. The exported logo can also be used on various promotional items, including t-shirts.
How to Turn a Drawing Into a Logo: Final Thoughts
Taking your ideas and converting them into workable products is incredibly empowering. Knowing how to turn a drawing into a logo is a skill that has many applications. This same process can be used for any simple physical image that you want to digitize.
A logo maker can help you easily create and customize your logos, providing design tips to enhance the final product.
If you need a logo for your business and don’t know where to start, let us know. Our team is on hand to help you get the branding your company deserves.
Ready to jump into the world of logos?
Create your own professional logo or business card with FreeLogoServices’ Logo Maker and Business Card Maker, and accelerate your business growth by building a solid brand image.