Congratulations on taking the first step to
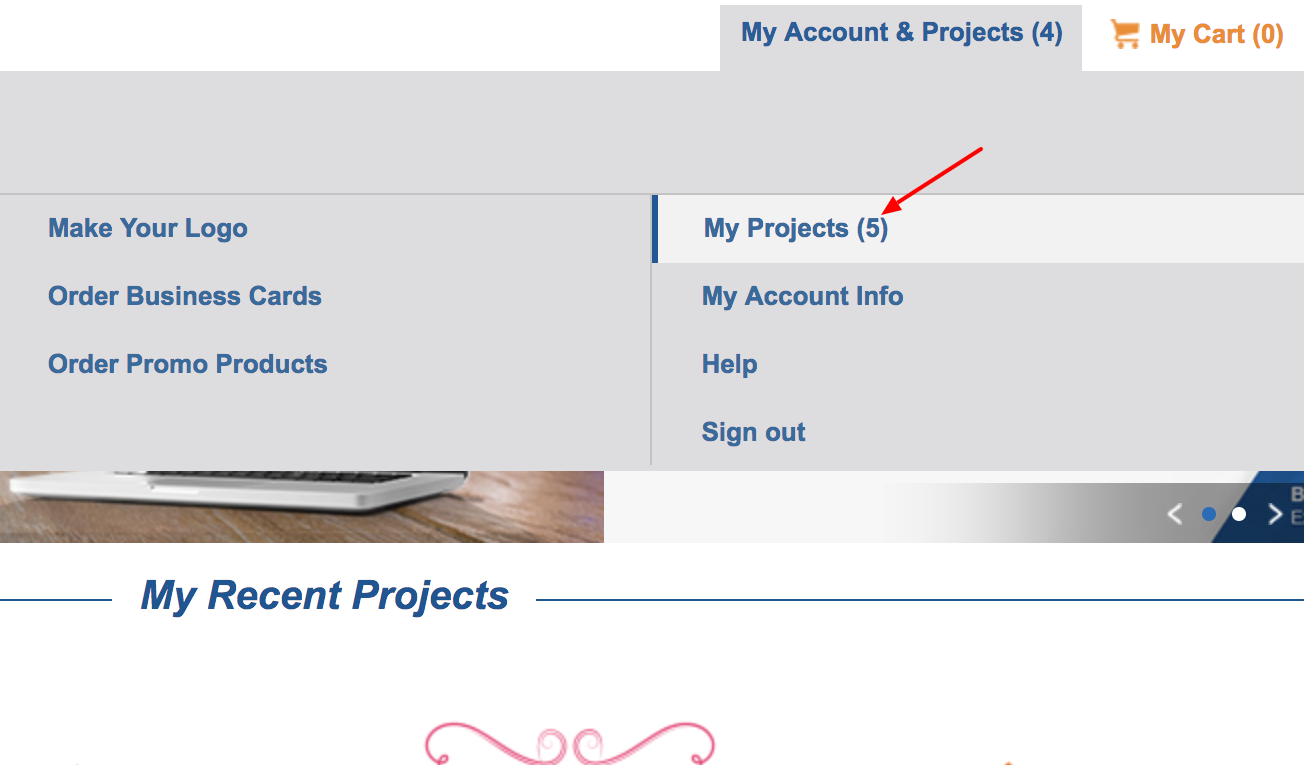
5. You will see the online business listing product and below it a link to click titled "Manage Business Listing".
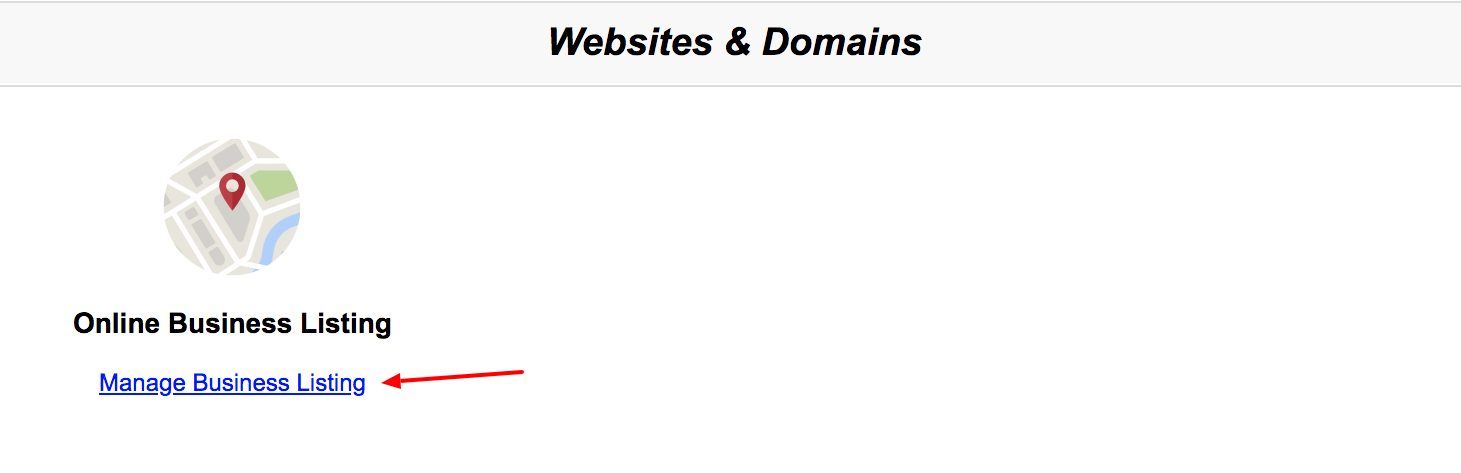
6. Click on the link to launch your setup wizard.
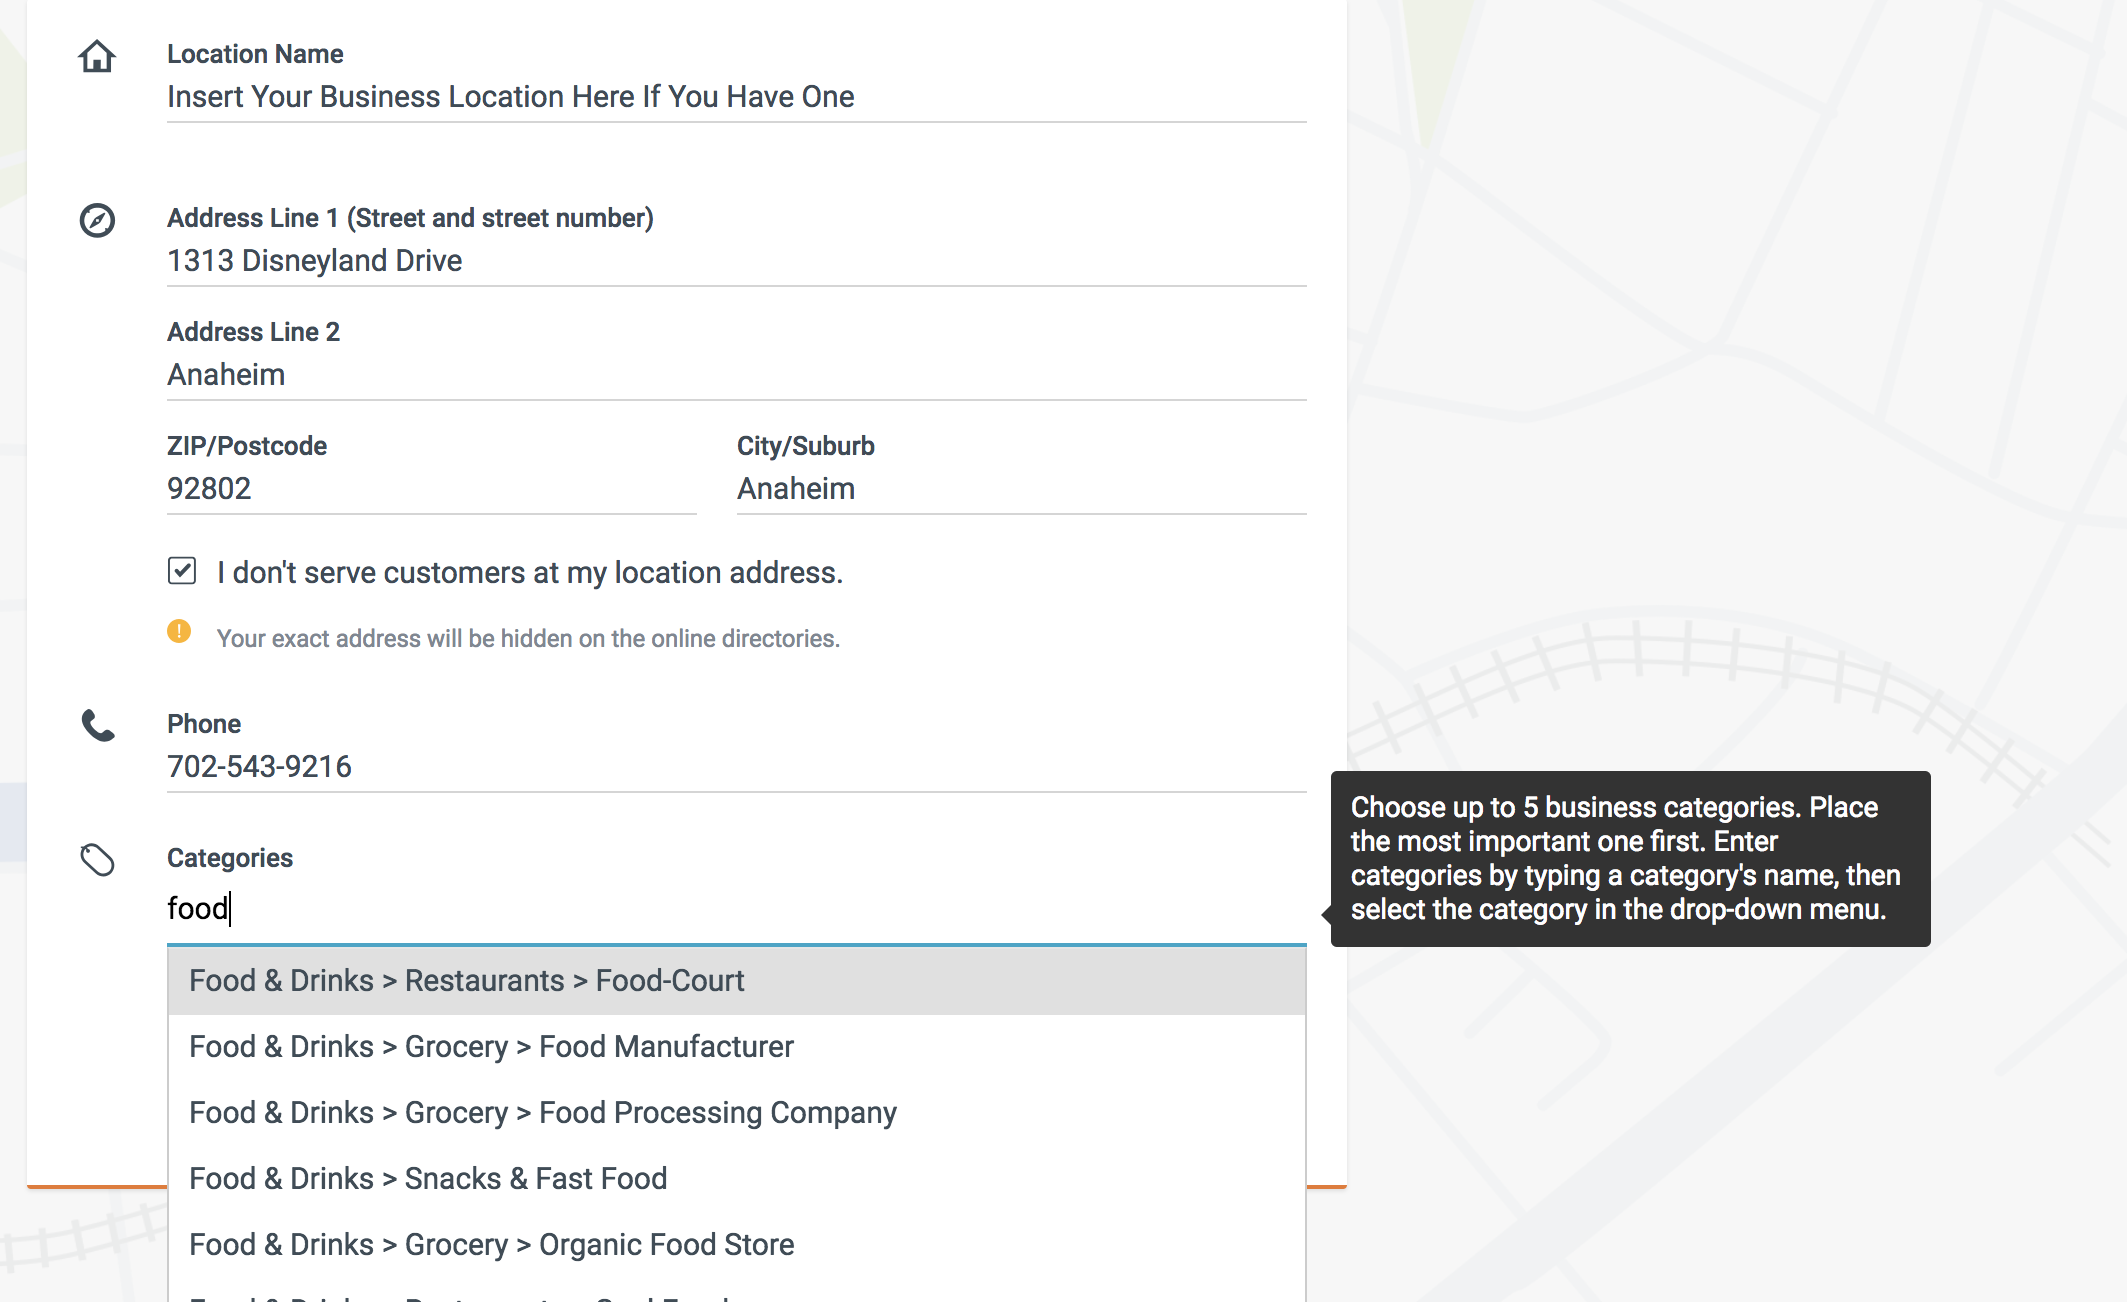
Location Name: Insert Your Business Name
Address: Insert your business’ physical location or address. Please note that if you DO NOT want your physical address published please check the I don’t serve customers at my location address check box.
Phone: Insert your business’ phone number
Categories: Enter the categories your business applies to IE. A restaurant business will choose categories under the Food & Drinks categories.
Website: Insert your website’s URL here if you have one. If you do not have a site at this time, you may leave it blank. You can always add a website URL after your Online Business Listing registration is complete.
Email: Please enter the email address you would like your clients/customers to email you at.
Opening Hours: If appropriate you can include your company’s opening hours. By selecting the drop-down menu, you can choose the days and hours you would like to display.
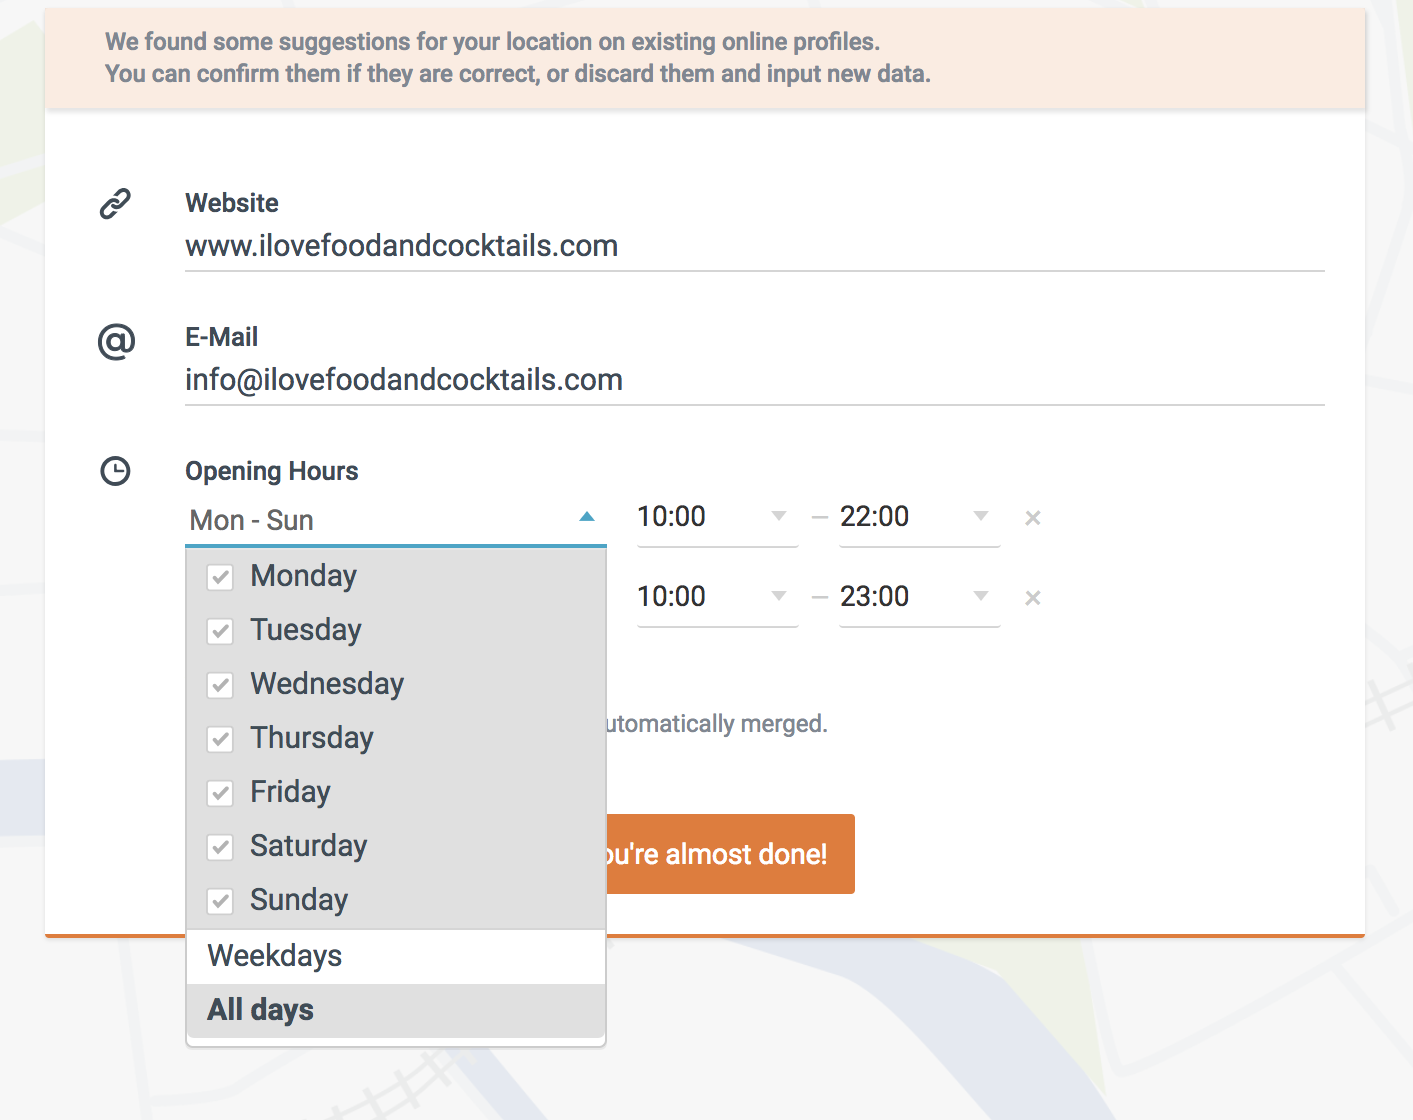
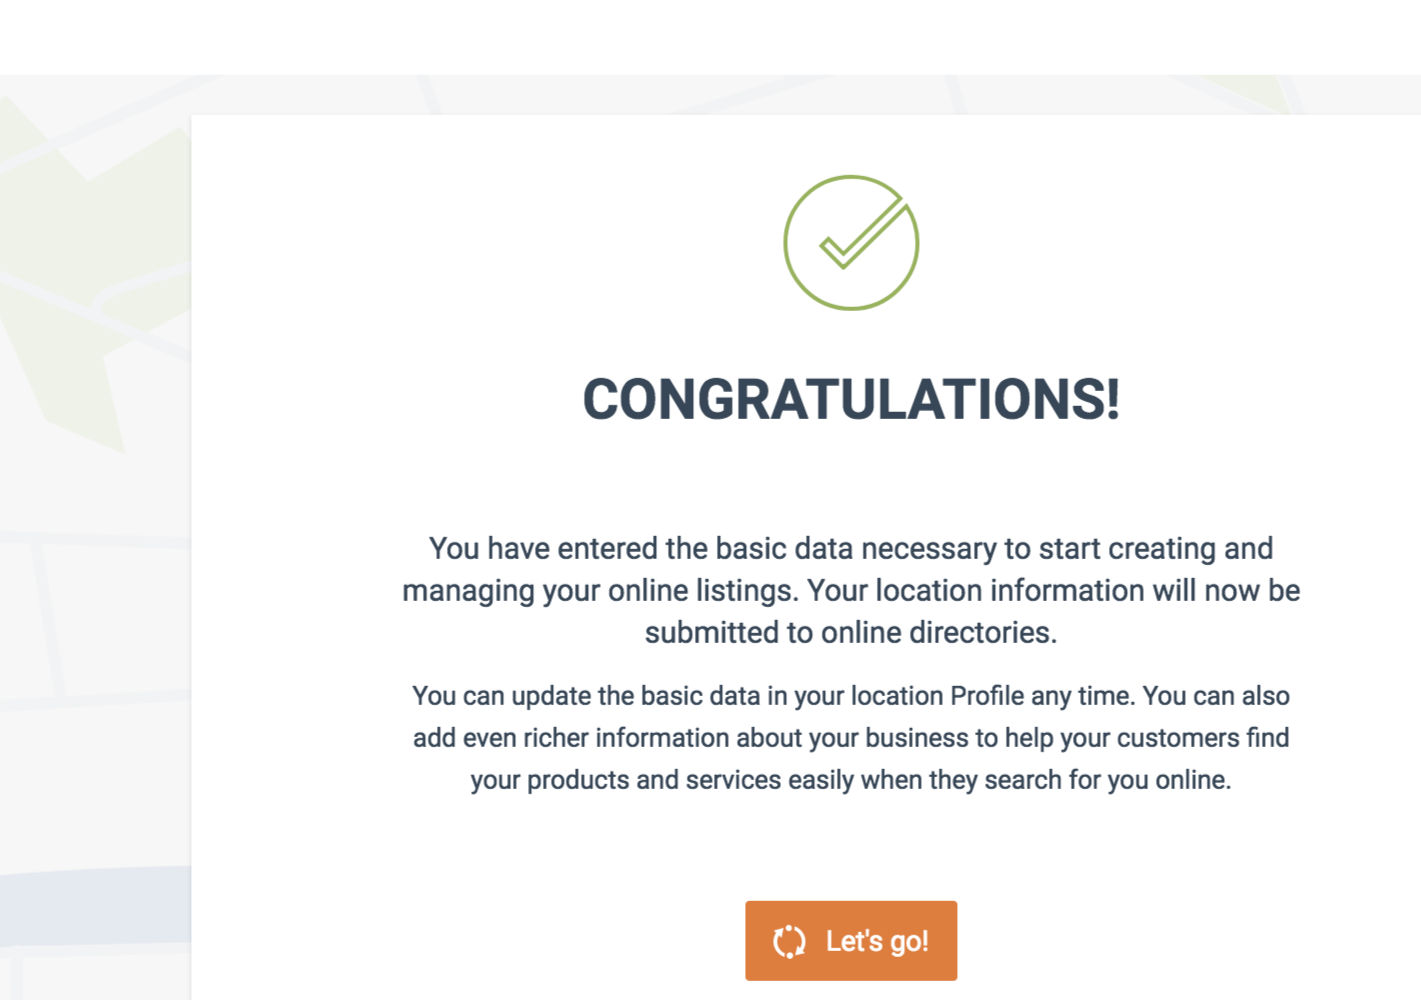
9. Once you’ve completed this select the "You’re Almost Done" button. Selecting the button will complete your registration, and a "Congratulations" message will appear. Last, click on the "Let’s Go" button to begin your Google Business Listing setup or access your Online Business Listing Dashboard.
*This offer is limited to our US customers, we hope to have a product for your area soon!